
Kickout flashing diverts rainwater away from wall cladding and into the gutter. Typically made from metal, it keeps moisture from damaging the joint between a roof and its vertical wall. It helps prevent water penetration, leaks and damage to the wall and building interior.
How do you install this product on your roof and siding?
You should install kickout flashing directly above the gutter at the end of a roof-wall intersection. In other words, it should be at the bottom of the roof’s corner where it meets the vertical wall. This installation helps divert water away from the wall and into the gutters.
Per the International Residential Code (IRC), kickout flashing should be installed at a 110-degree angle. It should extend at least 4 inches up the sidewall.
You can usually install kickout flashing on any side of a building since it comes in left and right configurations. Kickout flashing can accommodate a variety of siding types, like stucco and vinyl.
Yes. You can install kickout flashing on your current roof, though you’ll have to loosen and remove portions of your existing siding. We’ll cover this process in more detail below.
Installing kickout flashing on an existing roof is relatively simple and straightforward. However, these steps can vary depending on the manufacturer’s instructions, so always refer to these guidelines during installation. We also recommend hiring a professional to perform the installation if you have limited experience with roof work.
Kickout flashing installation can look slightly different depending on the specific product and manufacturer. However, here are some basic steps to keep in mind.
First and foremost, you need a clean space to work. Start by clearing and prepping the area where you’ll install your kickout flashing. Move away any debris cluttering your workspace, like leaves, twigs or existing flashing.
If there is currently siding in your kickout flashing installation spot, you’ll need to remove it first. Use a flat bar to lift up your current shingles or siding where you’ll be installing the kickout flashing. Do this very carefully to avoid damaging the siding. Make sure you clean up any lingering caulk around the area, as well. Remember to reinstall this siding around the kickout flashing later on.
Next, measure the width of the space where you’ll be installing the flashing. From there, you can cut the kickout flashing to the proper size with cutting shears or snips. After cutting the kickout flashing, position it at the bottom of the roof slope. It should extend past the edge of the wall. Insert roofing nails or screws into the upper part of the flashing to keep it in place.
Lastly, apply a sealant like roofing cement along the flashing’s edges. This step helps create a watertight seal to prevent leaks and moisture damage. It blocks rainwater from seeping through and accumulating behind the kickout flashing.
Once you’ve completed the installation, periodically check the kickout flashing for signs of damage and wear. Make sure it’s properly redirecting water away from the wall. Try to keep the area clear of foreign materials and debris, too.
You can check out our kickout flashing diagram for additional installation details.
Several common installation mistakes can hinder the effectiveness of your kickout flashing. By recognizing and avoiding the flaws below, you can ensure a golden installation.
Insufficient sealing is a common and risky mistake when installing kickout flashing. If you don’t adequately seal the kickout flashing, rainwater can seep behind it and cause damage. Always apply a healthy layer of sealant for a watertight bond.
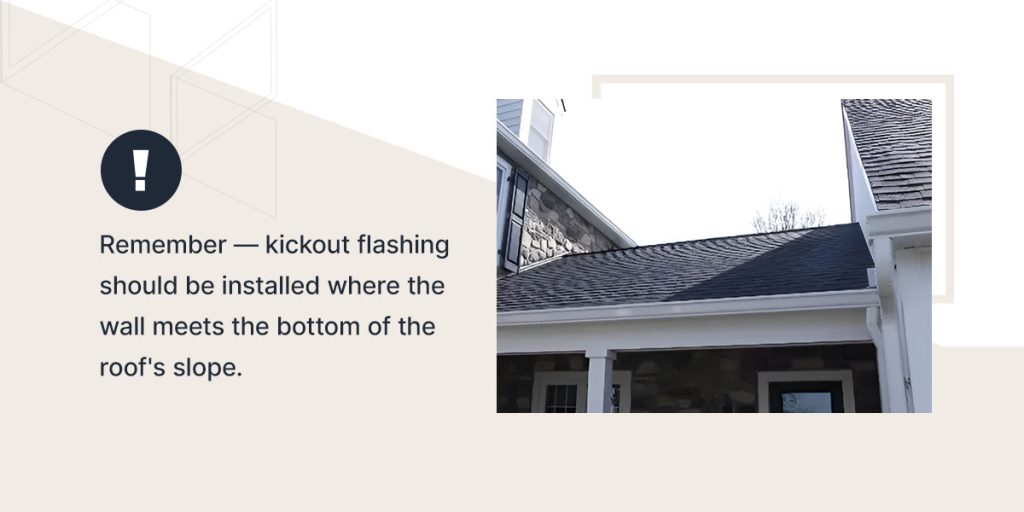
Installing the kickout flashing in the incorrect location is another mistake to avoid. Improper placement can cause water to flow behind the siding, degrading and damaging the structure. Remember — kickout flashing should be installed where the wall meets the bottom of the roof’s slope.
Using the improper flashing material for your roofing applications can cause premature leakage and wear. Kickout flashing materials can contract and expand with temperature fluctuations. Confirm the product suits your roofing needs and surrounding environment. Always refer to the manufacturer’s guidelines if you’re unsure.
Using undersized or oversized kickout flashing for the roof’s slope is another error to watch out for. Aside from its unsightly appearance, flashing that’s too large or small cannot properly deflect stormwater. Correctly measuring and sizing your kickout flashing helps ensure effective water flow into the gutters.
Before installing your kickout flashing, remember to perform a thorough roof inspection and clear your workspace. Without examining your roof beforehand, you might overlook existing issues that could affect the function of the kickout flashing. Additionally, you should always clear the area of twigs, leaves and other materials for a clean installation space.
Kickout flashing should be fastened and nailed to the wall and roof to hold it in place. If you don’t properly secure the flashing, it could get dislodged by heavy storms, rains and winds.
Using incompatible fasteners can also compromise the flashing’s effectiveness. Make sure you use quality, corrosion-resistant nails or screws and follow the manufacturer’s recommendations.
The slope of your roof impacts water runoff. If you don’t account for the roof pitch when installing your kickout flashing, it could lead to drainage problems, increasing the risk of leaks and rainwater damage. Make sure you carefully consider this roof pitch during installation.
Another common mistake is failing to monitor and maintain the flashing after installation. Installing kickout flashing isn’t a one-and-done deal. Leaves, branches and other materials can collect around the flashing over time, impeding its ability to reroute water. You’ll need to check the space periodically and clear away the debris when you notice buildup.
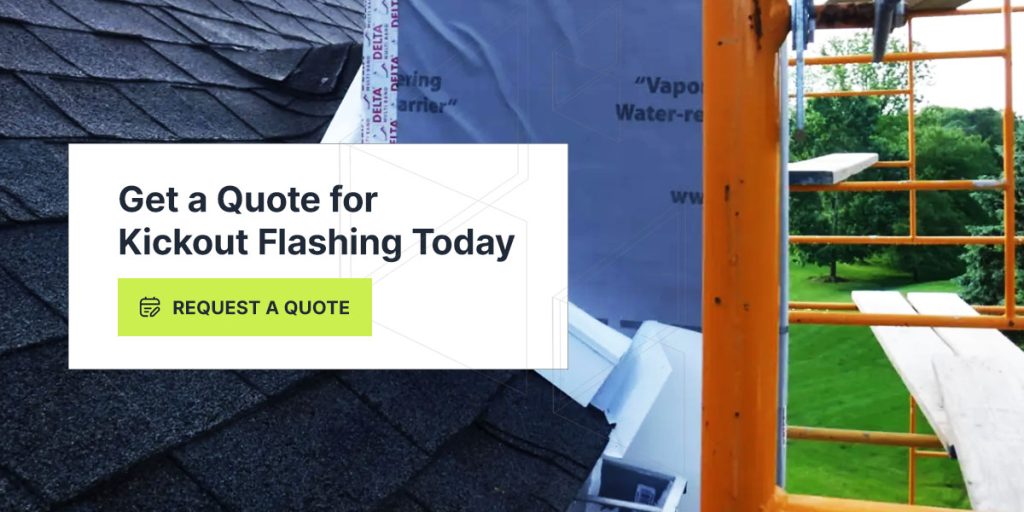
Kickout Flashing by PBZ is your source for superior water diversion solutions. Our kickout flashing is manufactured from TIG-welded aluminum to prevent cracking and wear, ensuring reliable performance and durability.
From powder-coated to uncoated kickout flashing, we offer an array of products to handle your water control needs. Browse our selection of kickout flashing and request a quote today. Call 717-436-2056 with any questions!